
Introduction to Spiderweb Cheesecake
If you’re a young professional juggling work, social life, and the occasional cooking venture, a Spiderweb Cheesecake is your new best friend. This cheesecake doesn’t just look stunning; it’s also a delightful treat that requires minimal culinary skills—perfect for impressing friends or winding down after a long week. Not to mention, it’s oh-so-fun to make!
Why is Spiderweb Cheesecake perfect for young professionals?
Imagine hosting a small gathering or a cozy movie night at home. You want something unique yet simple, right? This cheesecake fits the bill perfectly! With just a few ingredients and some easy steps, you can create a dessert that’s not only delicious but also visually appealing. Plus, the spiderweb design adds a playful touch that’s perfect for festive occasions or just to enjoy a slice while binge-watching your favorite show.
Creating this spiderweb cheesecake doesn’t take more than a few hours, most of which is chilling time, allowing you to catch up on emails or grab that much-deserved nap. If you're new to baking, websites like King Arthur Baking offer fantastic tips to navigate any challenges you might face, making this an even more enjoyable experience!
Ingredients for Spiderweb Cheesecake
Essential ingredients for a delicious cheesecake
To create a mouth-watering spiderweb cheesecake, you'll need a selection of key ingredients that come together harmoniously to create a creamy, dreamy dessert. Here's what you'll need:
- Chocolate cookie crumbs: 2 cups for a rich and decadent crust. You can use store-bought or make your own by crushing your favorite chocolate cookies.
- Melted butter: ¼ cup to bind the crumbs for that perfect crust.
- Cream cheese: 24 oz, softened to ensure a smooth and creamy texture.
- Sugar: 1 cup for sweetness that balances the tang from the cream cheese.
- Large eggs: 3, which provide structure.
- Vanilla extract: 1 tsp, to add a lovely aromatic depth.
- Sour cream: ¼ cup, bringing moisture and creaminess to the batter.
- Dark chocolate chips: ½ cup, melted for that irresistible chocolate flavor.
Optional ingredients for added flair
Want to elevate your spiderweb cheesecake even further? Consider adding these optional ingredients:
- Cocoa powder: For a deeper chocolate flavor, whisk in a few tablespoons of cocoa powder into the batter.
- Caramel drizzle: A drizzle of caramel can add a delightful contrast to the chocolate.
- Crushed nuts: Chopped pecans or walnuts sprinkled on top can provide a crunchy texture.
Feel free to get creative! You can find more inspiration for variations on cheesecake recipes here. Whether you're aiming for a classic taste or a unique twist, your spiderweb cheesecake is sure to impress!
Step-by-step Preparation of Spiderweb Cheesecake
Creating a spiderweb cheesecake can be a delightful and spooky experience that impresses friends and family alike. Let’s break down the process into simple steps to ensure a delicious outcome.
Prepare the crust
First things first, we need to lay the foundation for our cheesecake. For the crust, you’ll need 2 cups of chocolate cookie crumbs (think Oreo crumbs) and ¼ cup of melted butter.
- Begin by preheating your oven to 325°F (160°C), and grease a 9-inch springform pan for easy removal later.
- In a medium bowl, combine the chocolate cookie crumbs and melted butter, mixing until all crumbs are evenly coated. The mixture should resemble wet sand.
- Transfer the crumb mixture into the prepared pan, pressing it firmly into the bottom to create an even layer. Use the back of a measuring cup or your hands for a nice compact crust that holds together well.
Mix the cheesecake filling
Next up is the creamy filling that will make your cheesecake irresistible.
- In a large mixing bowl, beat 24 oz of softened cream cheese and 1 cup of sugar until smooth and fluffy. Expert tip: using room temperature cream cheese helps prevent lumps in your filling.
- Add three large eggs, one at a time, beating well after each addition. This ensures that each egg is fully incorporated.
- Finally, mix in 1 teaspoon of vanilla extract, ¼ cup of sour cream, and ½ cup of melted dark chocolate chips for that rich flavor. Combine until everything is well blended.
Assemble and bake the cheesecake
Now comes the fun part—putting it all together!
- Pour your creamy cheesecake batter over the crust in the springform pan, smoothing the top with a spatula.
- Bake in the preheated oven for approximately 45-50 minutes. Aim for the edges to be set with a slightly jiggly center—this is key to a perfect cheesecake texture.
Chill the cheesecake
After baking, let your cheesecake cool completely at room temperature. This step is crucial; it prevents cracking as it sets.
- Once cool, cover the cheesecake and refrigerate for at least 4 hours (or overnight, if you can resist the temptation!).
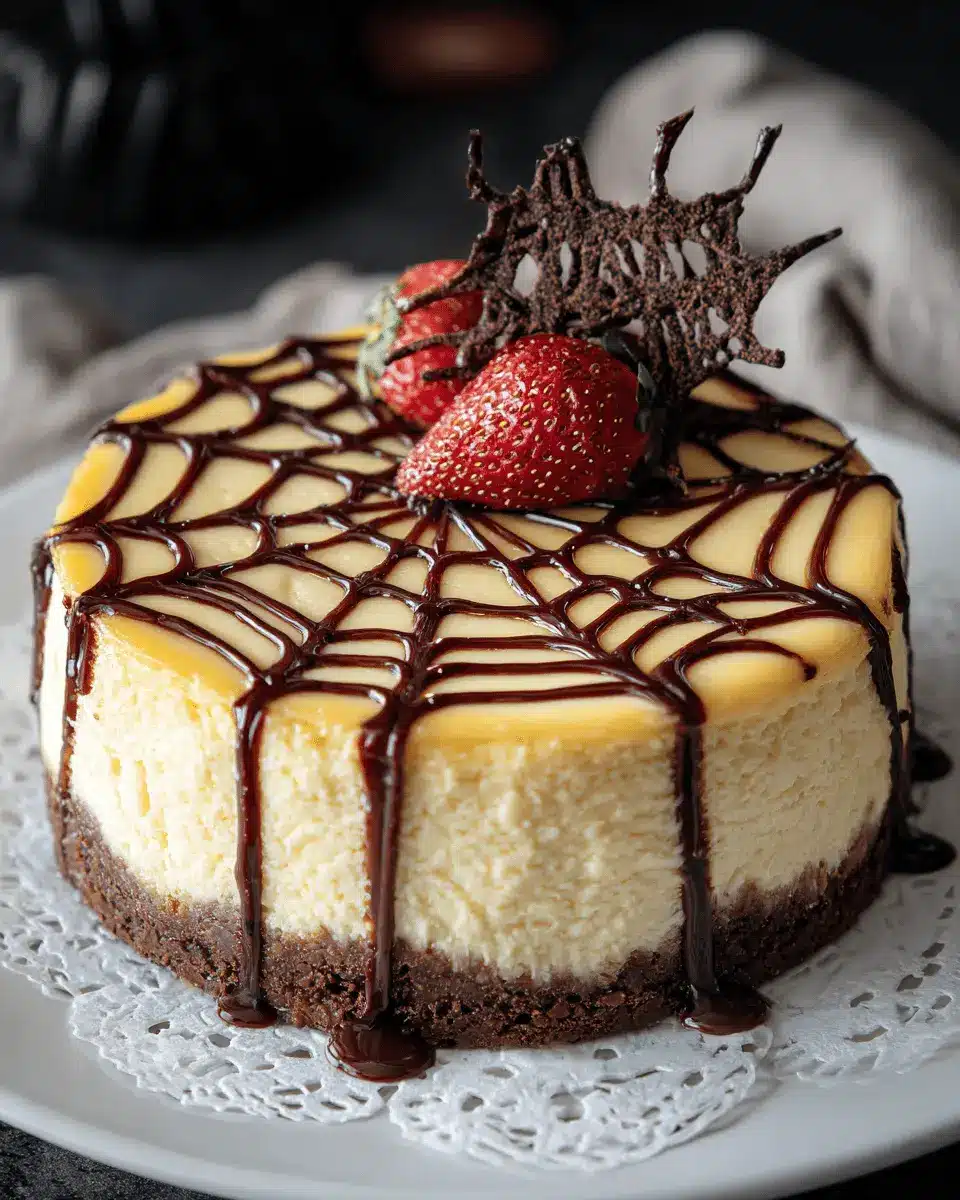
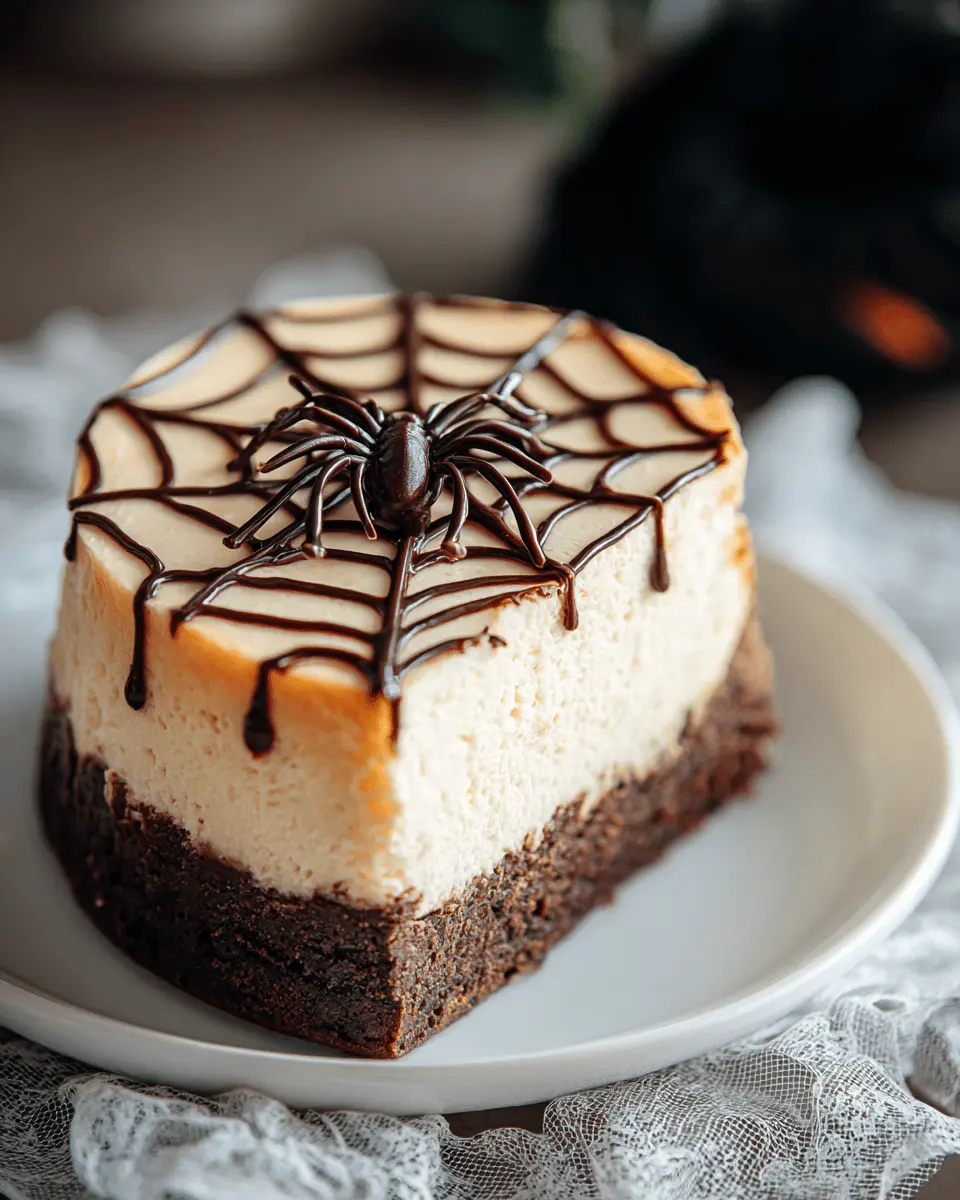
Add the spiderweb design
The final touch to our spiderweb cheesecake is the web design that makes it visually striking.
- Once chilled, use melted dark chocolate to pipe a spiderweb design on top. You can use a piping bag or a zip-lock bag with the corner snipped off.
- With a toothpick, drag lines outward from the center to create that iconic web effect. It’s a fun and creative step—don’t worry about making it perfect!
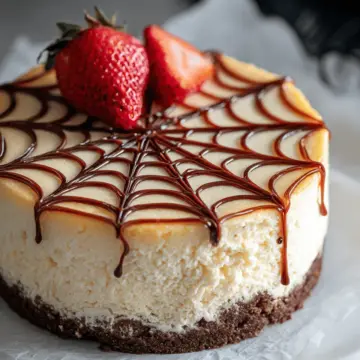
And there you have it! Your spiderweb cheesecake is ready to be sliced and served. This unique dessert is perfect for Halloween parties or any gathering where you want to add a touch of creativity to your table. Enjoy the compliments and delicious flavors!
Variations on Spiderweb Cheesecake
Halloween-themed variations
Transform your Spiderweb Cheesecake into a Halloween party centerpiece! Consider adding a splash of red food coloring to the creamy filling for a spooky blood-red effect. Alternatively, you can top it with edible eyes or creepy crawlers for an extra fright. For a fun twist, use pumpkin spice in the batter for a seasonal flavor that pairs wonderfully with the classic chocolate base.
Alternative crust options
If chocolate cookies aren't your thing, try these alternative crusts to diversify your spiderweb cheesecake:
- Graham Cracker Crust: Classic and buttery, it adds a lovely contrast to the rich filling.
- Oreo Crust: Perfect for a more intense chocolate flavor.
- Nut Crust: Combine ground almonds or pecans with a bit of sugar and butter for a gluten-free option.
These variations will surely delight your guests, and you can check out Food Network for more inspiration!
Cooking Tips and Notes for Spiderweb Cheesecake
Tips for achieving the perfect texture
To ensure your spiderweb cheesecake has a velvety smooth texture, be sure to soften the cream cheese fully before mixing. This will help avoid lumps. It's also helpful to mix on low speed and gradually add the eggs—this incorporates air without overbeating, which can create cracks.
Notes on making the chocolate spiderweb
When creating the chocolate spiderweb, melt your dark chocolate and let it cool slightly to maintain its shape. Start by piping a spiral onto the cooled cheesecake and then use a toothpick or skewer to drag lines outward. This technique not only looks impressive but is a fun way to show your creativity! For more tips, you can check this chocolate piping guide for additional insights.
Serving Suggestions for Spiderweb Cheesecake
Ideal accompaniments for the cheesecake
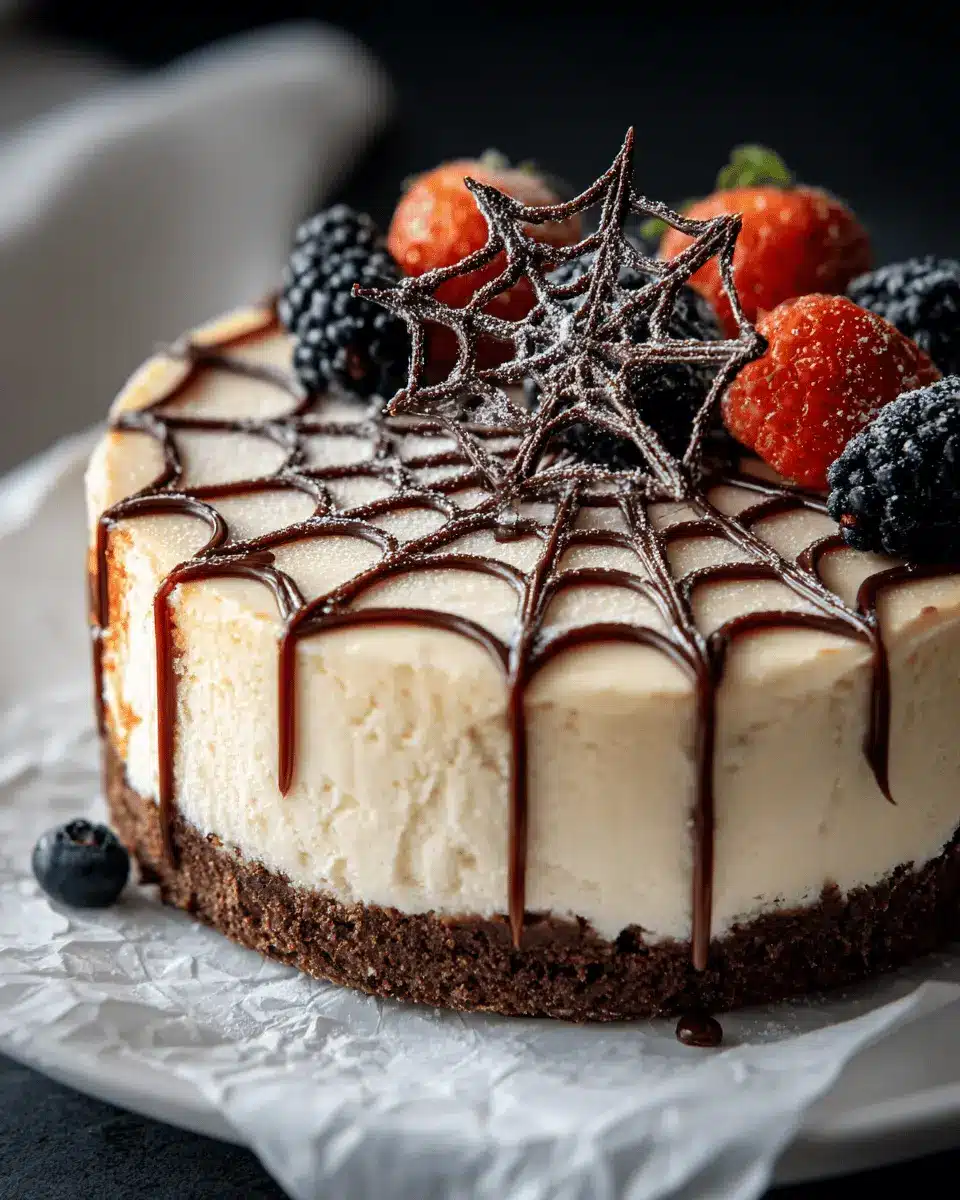
To elevate your spiderweb cheesecake experience, consider pairing it with fresh fruit like raspberries or strawberries. Their tartness beautifully contrasts the rich, creamy cheesecake. A dollop of whipped cream can add a light touch, while a hot cup of coffee or a refreshing herbal tea offers a cozy balance to the dessert.
Creative presentation ideas for gatherings
Impress your guests by serving your spiderweb cheesecake on a decorative cake stand. Garnish the platter with additional chocolate shavings or edible gold leaf for that extra flair. You could even place small spider figurines around the cheesecake to enhance the Halloween theme, creating a fun atmosphere perfect for gatherings.
For more inspiration on dessert presentation, check out this guide from Food Network.
Time Breakdown for Spiderweb Cheesecake
Preparation time
Getting the groundwork done for your spiderweb cheesecake is a breeze! You’ll need about 20 minutes to gather your ingredients, mix the crust, and whip up the cheesecake batter.
Baking time
Pop that cheesecake in the oven, and let it work its magic for 45 to 50 minutes. This time ensures you get that perfect texture that's creamy but holds together beautifully.
Chilling time
Patience pays off! Allow your cheesecake to chill in the fridge for at least 4 hours—or overnight if you can resist. This step is crucial for the flavors to meld and achieve a delightful texture.
Want to learn more about cheesecakes? Check out this guide on the science of cheesecake for expert insights! Enjoy crafting this delicious treat!
Nutritional Facts for Spiderweb Cheesecake
When indulging in a slice of spiderweb cheesecake, it's always good to know what you're enjoying. Here's a quick look at its nutritional breakdown per serving:
Calories per Serving
Each serving of this delicious cheesecake contains approximately 350 calories, making it a delightful treat to savor.
Sugar Content
With about 25 grams of sugar, this dessert offers just the right sweetness for those special occasions or movie nights.
Protein Content
Packed with around 6 grams of protein, the spiderweb cheesecake provides a nice balance amidst its creamy, rich flavors.
For more detailed nutritional insights and health tips, feel free to explore NutritionData and MyFitnessPal for personalized tracking. Enjoy your cheesecake!
FAQ about Spiderweb Cheesecake
Can I make this cheesecake ahead of time?
Absolutely! This spiderweb cheesecake can be made up to a day in advance. In fact, allowing it to chill overnight not only saves you time but also enhances the flavors and texture. Just remember to cover it well in the refrigerator to keep it fresh.
How should I store leftover cheesecake?
If you're lucky enough to have leftovers, store your spiderweb cheesecake in an airtight container in the refrigerator. It should stay delicious for about 3-5 days. If you want to enjoy it longer, you can freeze it! Just wrap it tightly in plastic wrap and then in foil. It can last up to 2 months in the freezer.
Are there dairy-free alternatives for the cheesecake?
Yes! You can substitute traditional cream cheese with a dairy-free alternative made from nuts or soy. Choose a non-dairy sour cream or Greek yogurt for a similar consistency. This way, everyone can enjoy your festive spiderweb cheesecake without sacrificing taste! For more tips on dairy-free baking, check out resources from The Kitchn.
Final thoughts on making this spooky dessert
Creating an eye-catching spiderweb cheesecake is a delightful way to impress at Halloween gatherings or cozy fall celebrations. The blend of rich flavors and whimsical design not only satisfies your sweet tooth but also adds a creative touch to your dessert table. Remember, the secret lies in allowing the cheesecake to cool properly and refrigerate well for that perfect texture. Enjoy this spooky treat, and don’t forget to share your creation with friends!
For more cheesecake inspiration, check out these classic cheesecake variations or explore some unique toppings here. Happy baking!
Spiderweb Cheesecake: An Indulgent Twist on a Classic Treat
Equipment
- 9-inch springform pan
Ingredients
Crust
- 2 cups chocolate cookie crumbs
- ¼ cup melted butter
Cheesecake Filling
- 24 oz cream cheese, softened
- 1 cup sugar
- 3 large eggs
- 1 teaspoon vanilla extract
- ¼ cup sour cream
- ½ cup dark chocolate chips, melted
Instructions
Baking Instructions
- Preheat the oven to 325°F (160°C). Grease a 9-inch springform pan.
- Combine the chocolate cookie crumbs and melted butter, then press the mixture into the bottom of the pan to form the crust.
- In a large bowl, beat the cream cheese and sugar until smooth. Add the eggs one at a time, followed by the vanilla extract and sour cream.
- Pour the cheesecake batter over the crust and smooth the top.
- Bake for 45-50 minutes until the edges are set and the center is slightly jiggly.
- Let the cheesecake cool completely, then refrigerate for at least 4 hours.
- Once chilled, use the melted dark chocolate to pipe a spiderweb design on top. Use a toothpick to drag lines outward for a web effect.
- Slice and serve this creepy yet delicious cheesecake!

Leave a Reply