
Introduction to the Best Apple Crisp Recipe
Apple crisp is that timeless dessert that effortlessly steals the spotlight at any gathering. There's something undeniably heartwarming about the combination of tender, spiced apples enveloped in a delightful crunchy topping. But why is apple crisp a go-to dessert for many?
Why Is Apple Crisp a Go-To Dessert?
First and foremost, it embodies the comforting essence of home baking. The aroma of baked apples and cinnamon wafting through your kitchen can transport anyone back to childhood memories of family gatherings. Plus, it’s surprisingly simple to make, requiring minimal preparation, making it ideal for the busy young professional.
The best apple crisp recipe combines taste and texture perfectly, offering both the soft fruit and the satisfying crunch of the topping. It’s adaptable too. You can use various apple varieties like Granny Smith or Honeycrisp, allowing you to play with flavors and textures.
What makes this dessert even more appealing is how you can personalize it—serving it warm with a scoop of vanilla ice cream or a drizzle of caramel sauce elevates it to new heights. You can explore more about the science behind baking and flavor profiles to deepen your appreciation for this fall classic. Ready to dive into perfection? Let's get started!
Ingredients for the Best Apple Crisp
Apple Filling
To create the deliciously tender filling for the best apple crisp recipe, start with about 6 cups of your favorite apples, like Granny Smith or Honeycrisp. You’ll also need a couple of tablespoons of granulated sugar, a splash of lemon juice to brighten the flavor, and a sprinkle of warm spices—think cinnamon and nutmeg. Don’t forget a pinch of salt to balance everything out. This combination is not just for sweetness; it helps enhance the natural flavors of the apples.
For more ideas on the best apple varieties for your crisp, check out this guide on apples.
Crisp Topping
The topping is truly the star of the show! You’ll combine old-fashioned rolled oats with all-purpose flour and brown sugar for that sweet crunch. For a buttery finish, cold, cubed unsalted butter is essential. This creates a delightful, crumbly texture that contrasts beautifully with the warm apple filling.
Optional Toppings
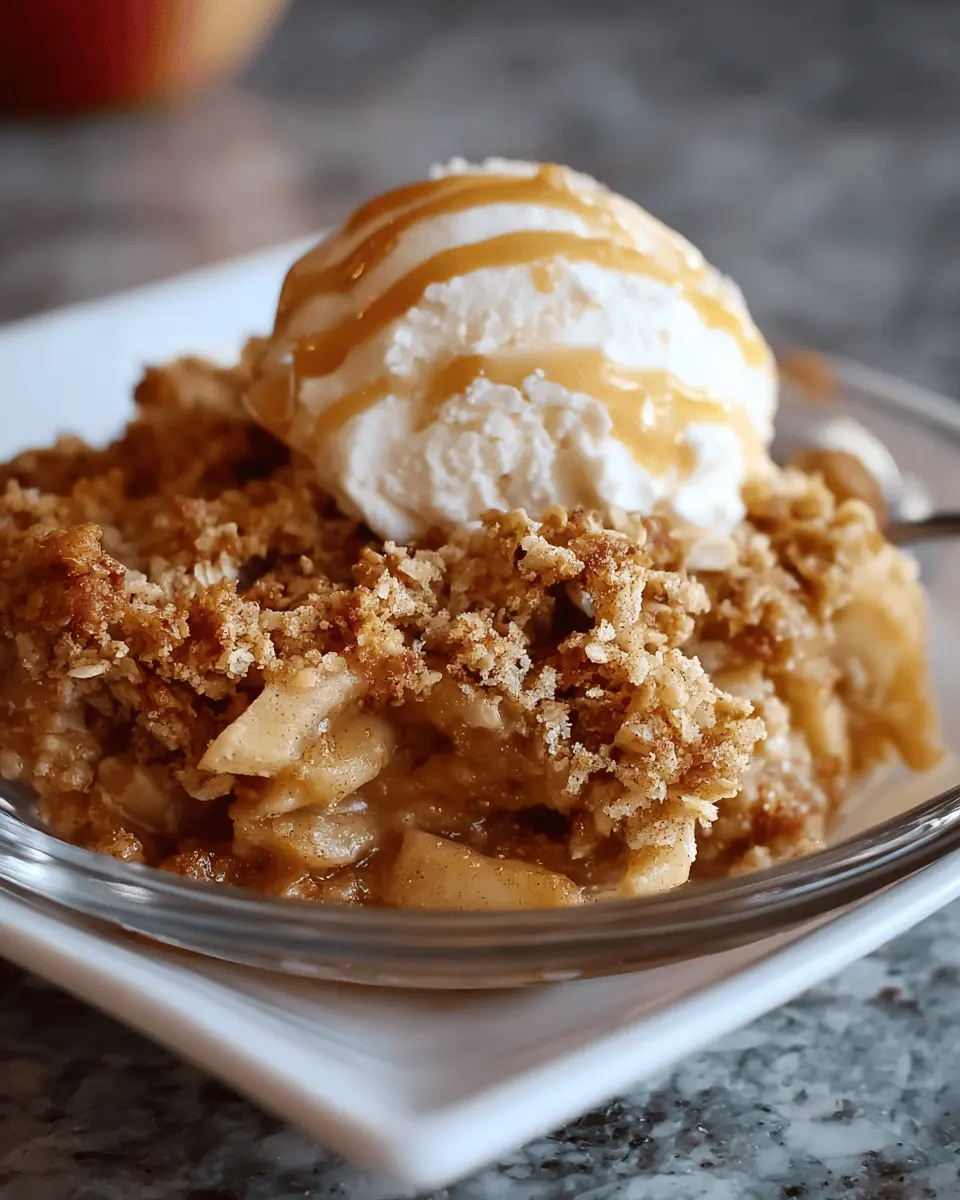
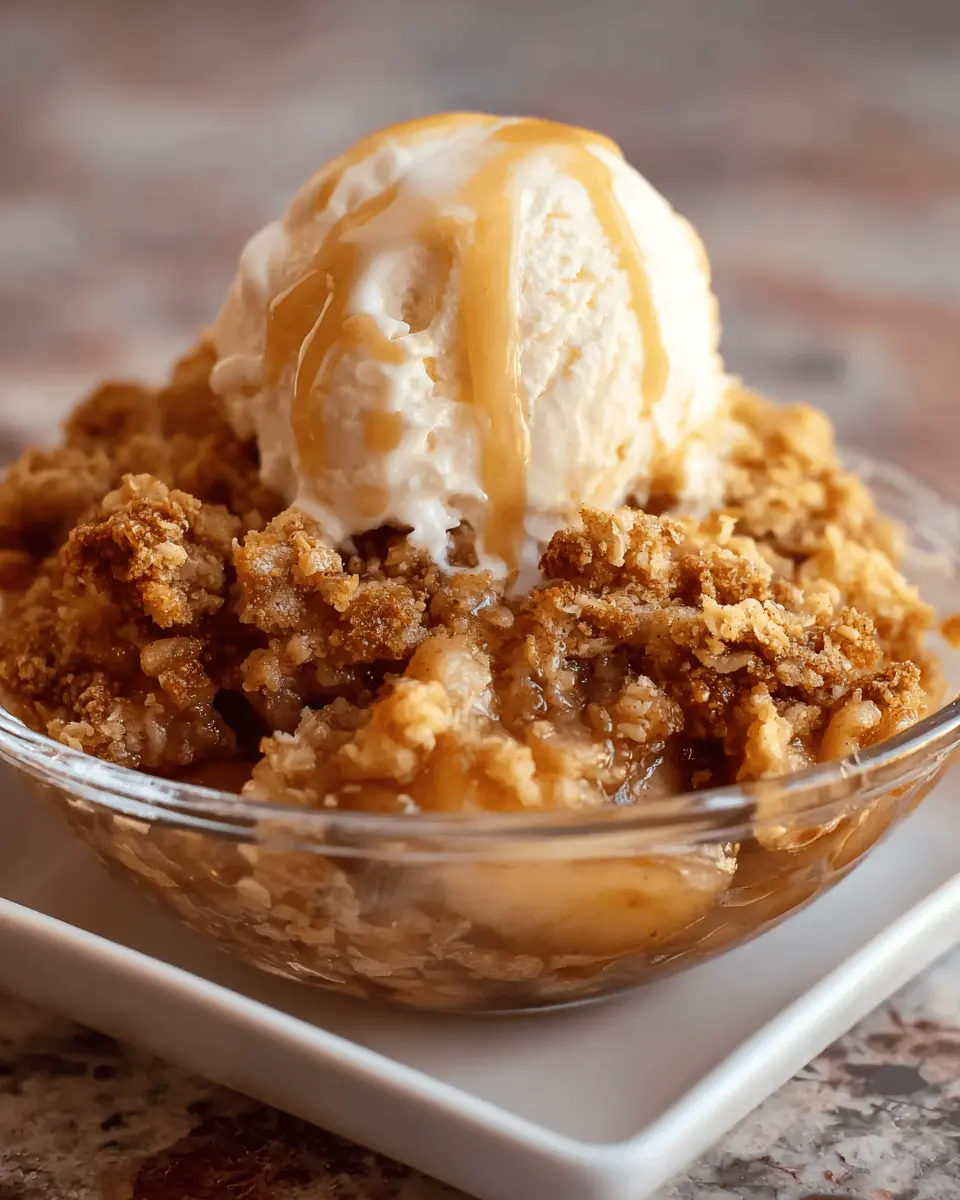
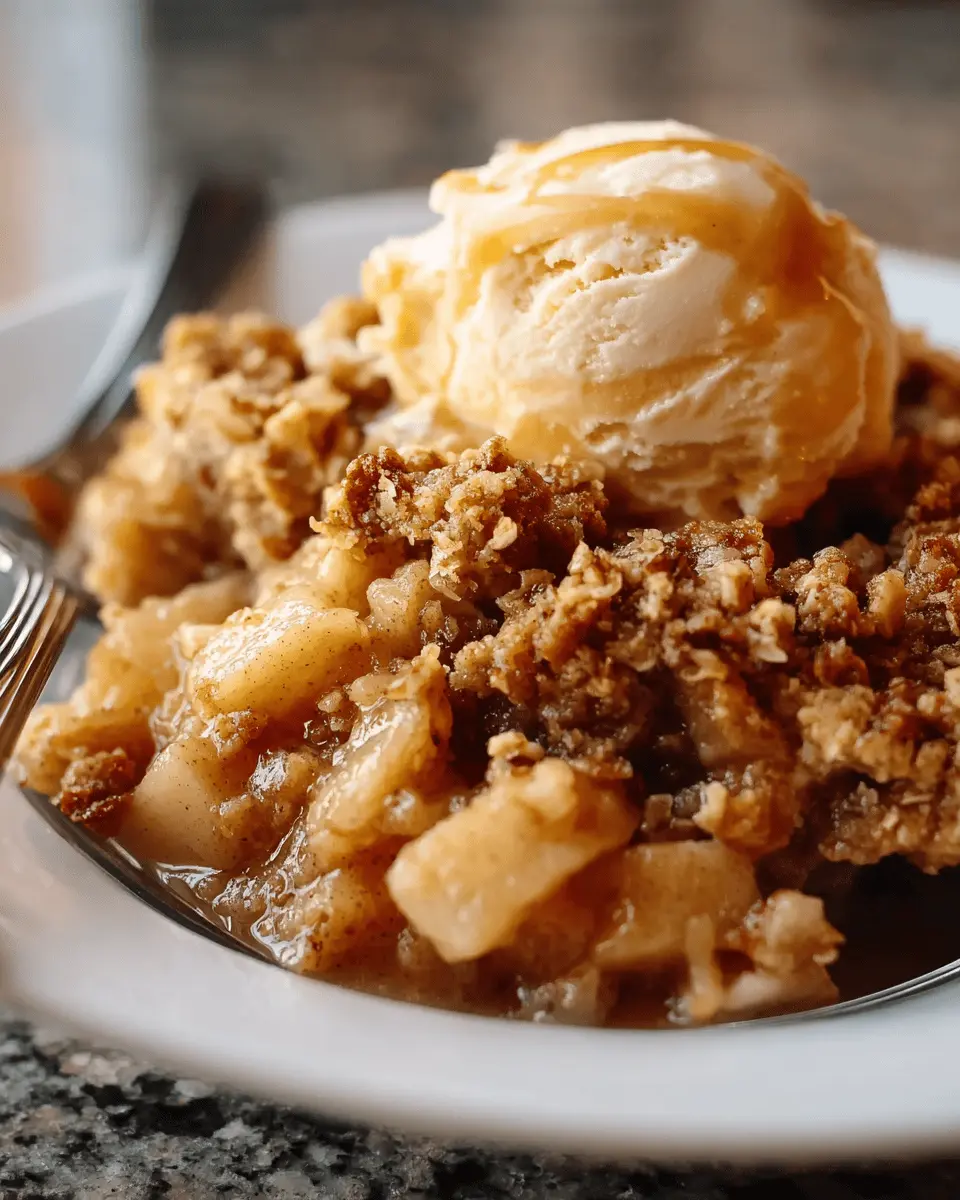
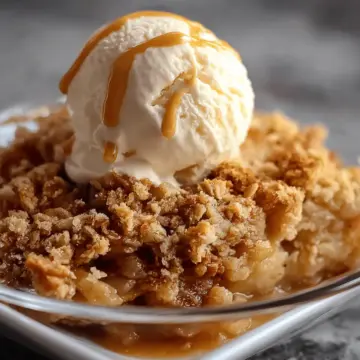
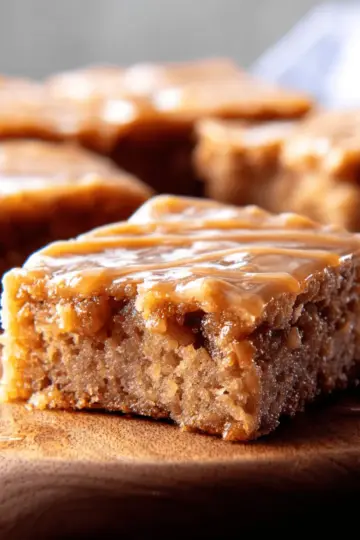
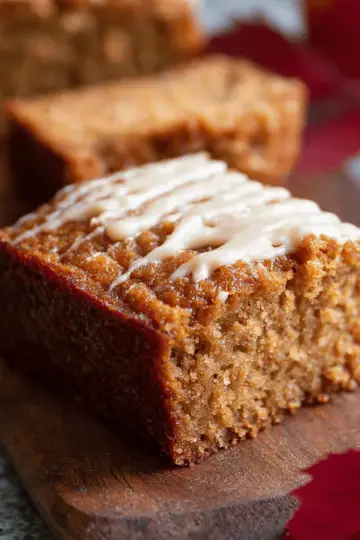
To elevate your apple crisp experience, consider adding optional toppings. A scoop of creamy vanilla ice cream or a drizzle of rich caramel sauce can turn your dessert into an indulgent treat. Who doesn’t love that luscious combination?
This simple recipe not only satisfies your sweet tooth but also brings the warmth of home right to your table. Enjoy!
Step-by-Step Preparation for the Best Apple Crisp
Making the best apple crisp is an enjoyable experience that fills your kitchen with a delicious aroma and provides a comforting dessert for any occasion. Follow these simple steps to create a crunchy, sweet, and oh-so-satisfying dessert that will surely impress your family and friends.
Prepare the Oven and Baking Dish
Let's get started! First, preheat your oven to 350°F (175°C). An evenly heated oven is essential for perfect results, so don’t skip this step. While the oven heats up, grab a 9x13 inch baking dish and lightly grease it. This will help prevent the crisp from sticking and make cleanup a breeze later on.
Make the Apple Filling
Now for the star of the show—the apple filling! In a large mixing bowl, chop up 6 cups of peeled, cored, and sliced apples. Great options include Granny Smith or Honeycrisp, as they balance sweetness and tartness beautifully. Toss the apple slices with 2 tablespoons of granulated sugar, 1 tablespoon of lemon juice, 1 teaspoon of ground cinnamon, ¼ teaspoon of ground nutmeg, and ¼ teaspoon of salt. This mix not only sweetens the apples but enhances their flavor. Once everything is coated evenly, spread the mixture into your previously prepared dish.
Prepare the Crisp Topping
Now, let’s create that irresistible topping! In another bowl, combine 1 cup of old-fashioned rolled oats, ¾ cup of all-purpose flour, and ¾ cup of packed light brown sugar. To bring it all together, add ½ cup of cold, cubed butter. The key is to use cold butter—this creates the flaky texture we all love. Using a pastry cutter, two forks, or even your fingers, mix until the mixture is crumbly with some pea-sized lumps of butter remaining. Trust me, this is where the magic happens!
Assemble and Bake
With everything ready, it’s time to assemble your masterpiece! Sprinkle the crisp topping generously over the apple layer in the baking dish, ensuring even coverage. Place the dish in your preheated oven and let it bake for 40-45 minutes. You’ll know it’s done when the topping is golden brown and the apples are bubbling, filling your kitchen with a delightful aroma.
Cool and Serve
Once baked to perfection, remove your apple crisp from the oven and let it cool for about 5-10 minutes. This resting time is essential as it allows the flavors to meld together beautifully. Serve warm, and for an extra treat, top it off with a scoop of vanilla ice cream or a drizzle of caramel sauce. This cozy dessert is perfect for any gathering—people will be coming back for seconds!
Enjoy your homemade apple crisp, the perfect blend of warm flavors and textures. Happy baking!
Variations on the Best Apple Crisp
When it comes to the best apple crisp recipe, there’s so much room to play around with flavors and textures! Here are a couple of delightful variations you might want to try.
Gluten-Free Apple Crisp
Craving a decadent dessert without the gluten? Use gluten-free oats and a blend of almond and coconut flour for your topping. This not only removes gluten but also adds an interesting nutty flavor that pairs beautifully with the sweet apples. Check out this detailed resource for more tips on cooking gluten-free.
Nutty Apple Crisp
For a crunchier twist, mix in some chopped nuts—think pecans, walnuts, or hazelnuts—into your crisp topping. This adds an enticing texture and a rich flavor. Just make sure to toast the nuts beforehand to really bring out their natural oils. Trust us; it’ll elevate your apple crisp experience to a whole new level!
Cooking Tips and Notes for the Best Apple Crisp
Choosing the Right Apples
To achieve the best apple crisp recipe, selecting the right apples is crucial. Go for firm varieties like Granny Smith for a tart bite, or Honeycrisp for a touch of sweetness. Mixing different apples can add a delightful flavor complexity. Aim for a blend that balances tartness with sweetness, which enhances the overall taste.
Preventing a Soggy Bottom
Nothing ruins an apple crisp faster than a soggy bottom. To prevent this, make sure to thoroughly drain any excess moisture from your apple mixture before assembling. You can also sprinkle a little cornstarch over the apples to help absorb juices as they bake. For more tips, check out this guide on baking with fruits. This simple step will ensure your crisp has that perfect crunch!
Serving Suggestions for the Best Apple Crisp
Perfect Pairings with Ice Cream
For a dessert experience that elevates the best apple crisp recipe, nothing beats a scoop of creamy vanilla ice cream melting into the warm, spiced apple filling. The coolness of the ice cream contrasts beautifully with the warm crisp, creating a delightful harmony of flavors. For a twist, consider adding a drizzle of caramel sauce on top to enhance the sweetness. If you’re feeling adventurous, try pairing it with cinnamon or even butter pecan ice cream for added flavor complexity.
Serving at Special Occasions
Whether it’s a cozy family dinner or a festive gathering, the best apple crisp recipe is the perfect crowd-pleaser. Serve it in a large dish at potlucks, or scoop it into individual ramekins for elegant dinner parties. Decorate with a sprinkle of cinnamon or a dusting of powdered sugar for a touch of sophistication. This dessert embodies comfort and nostalgia, making it ideal for celebrations like Thanksgiving or casual fall get-togethers. It’s not just about serving a dish; it's about creating warm memories that linger long after the last bite.
Time Breakdown for the Best Apple Crisp
Preparation time
Gather your ingredients and slice those delicious apples—it'll take you about 15 minutes. Use a mix of sweet and tart apples like Granny Smith and Honeycrisp for that perfect flavor balance. Pro tip: don’t forget to toss them in lemon juice to keep them from browning!
Baking time
Once you’ve got everything assembled, pop your apple crisp into the oven. It needs around 40-45 minutes to bake until the topping is golden and the apples are bubbly. Trust me, the smell will be irresistible!
Total time
In total, you’re looking at roughly 55-60 minutes before you can dig in. Allow for an additional 5-10 minutes of cooling after it comes out of the oven. This short wait makes a world of difference, allowing the flavors to meld beautifully.
Nutritional Facts for the Best Apple Crisp
When diving into the best apple crisp recipe, it’s good to know what’s in your dessert, right? Here’s a quick overview of the nutritional facts per serving to help you enjoy this treat guilt-free.
Approximate calories per serving
Each serving of this delightful apple crisp contains around 250-300 calories. It’s a cozy dessert but still light enough for a satisfying finish to any meal.
Sugar content
With approximately 18-20 grams of sugar per serving, you’re getting just the right sweetness from the apples and the topping—without being overwhelming.
Dietary fiber
Thanks to the oats and apples, you’re also getting about 4 grams of dietary fiber per serving. That’s not only good for digestion but helps keep you feeling full longer!
By being mindful of these nutritional details, you can savor each spoonful of the best apple crisp recipe while staying on track with your health goals. If you're curious about healthy dessert options, check out more insights at Healthline or Whole Foods.
FAQ about the Best Apple Crisp
Can I use frozen apples?
Absolutely! Frozen apples are a convenient option and can still make for a delicious crisp. Just thaw them first and drain any excess moisture to avoid a soggy filling. This makes it easier to whip up the best apple crisp recipe even in off-season months.
How do I store leftovers?
To keep your apple crisp fresh, store leftovers in an airtight container. You can pop it in the fridge for up to 4 days. If you want to enjoy it later, consider freezing individual portions; just make sure to wrap them tightly in plastic wrap or foil.
What can I substitute for butter?
No butter, no problem! You can easily swap it out for coconut oil or unsweetened applesauce for a healthier version. These alternatives can add a unique flavor to the best apple crisp recipe, keeping your dessert delicious and enjoyable!
For more recipe ideas using alternatives, explore sources like EatingWell or Serious Eats. Happy baking!
Conclusion on the Best Apple Crisp
In summary, this best apple crisp recipe is perfect for a cozy night in or impressing guests at a gathering. With simple ingredients and easy steps, you'll savor every delightful bite. Serve it warm, perhaps with a scoop of ice cream, for an unforgettable experience. Enjoy your baking adventure!
The Best Apple Crisp Recipe for a Cozy, Indulgent Dessert
Equipment
- 9×13-inch baking dish
- large bowl
- separate bowl
- Pastry Cutter
Ingredients
Apple Filling
- 6 cups peeled, cored, and sliced apples (such as Granny Smith, Honeycrisp, or a mix)
- 2 tablespoons granulated sugar
- 1 tablespoon lemon juice
- 1 teaspoon ground cinnamon
- ¼ teaspoon ground nutmeg
- ¼ teaspoon salt
Crisp Topping
- 1 cup old-fashioned rolled oats
- ¾ cup all-purpose flour
- ¾ cup packed light brown sugar
- ½ cup unsalted butter (cold and cubed)
Optional Toppings
- vanilla ice cream
- caramel sauce
Instructions
Preparation
- Preheat your oven to 350°F (175°C). Lightly grease a 9×13 inch baking dish to prevent sticking.
Make the Apple Filling
- In a large bowl, toss the sliced apples with granulated sugar, lemon juice, cinnamon, nutmeg, and salt. Mix well to coat the apples evenly. Then, spread the apple mixture evenly in your prepared baking dish.
Prepare the Crisp Topping
- In a separate bowl, combine the rolled oats, flour, and brown sugar. Add the cold, cubed butter. Using a pastry cutter, two forks, or your fingers, work the butter into the dry ingredients until the mixture looks crumbly and coarse, with some pea-sized butter pieces.
Assemble and Bake
- Sprinkle the oat mixture evenly over the apples in the baking dish. Place the dish in your preheated oven and bake for 40-45 minutes. You want the topping to be golden brown and the apples bubbling and tender.
Cool and Serve
- Remove from the oven and let it cool for a few minutes. Serve warm, topped with a scoop of vanilla ice cream and a drizzle of caramel sauce if you like. Enjoy this cozy and delicious dessert!


Leave a Reply