
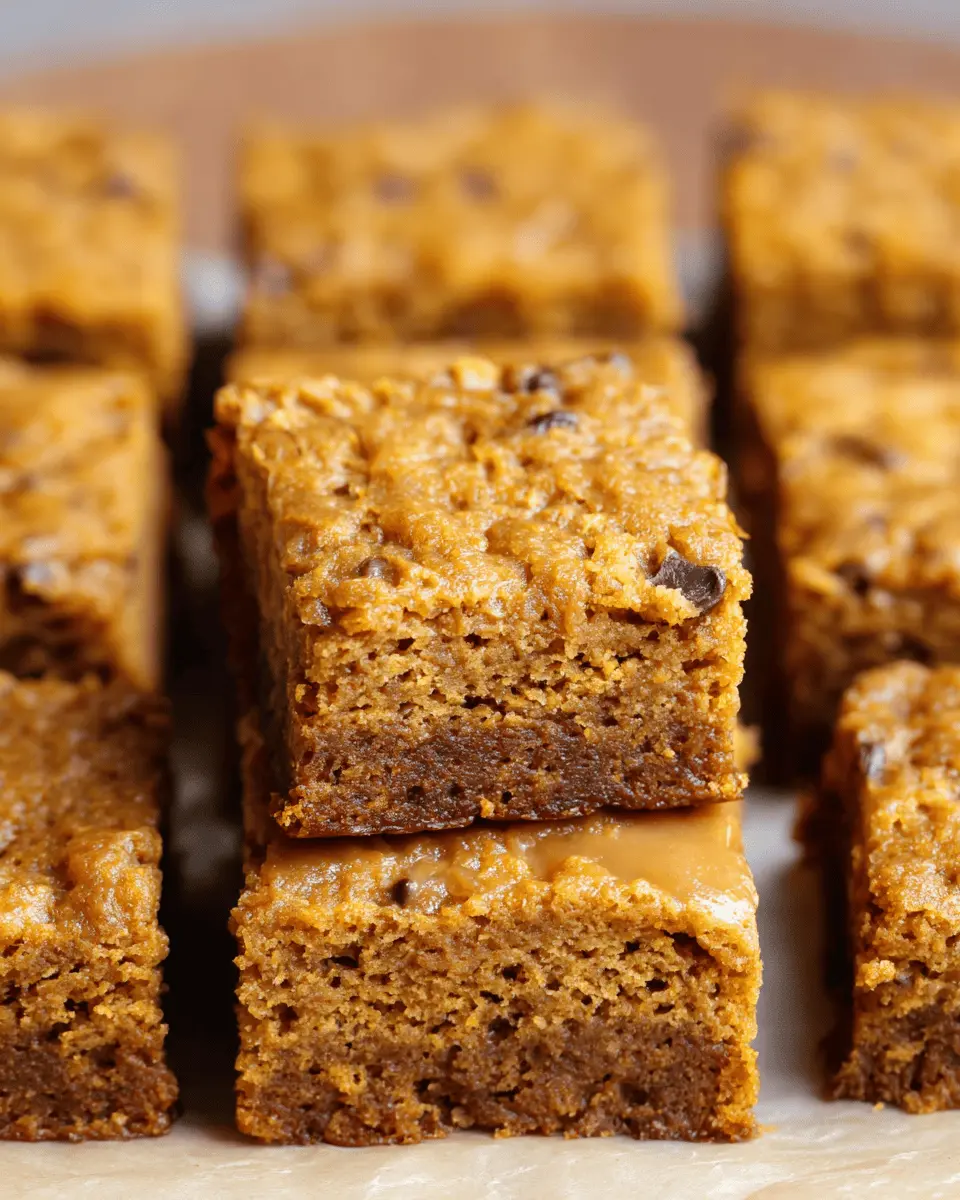
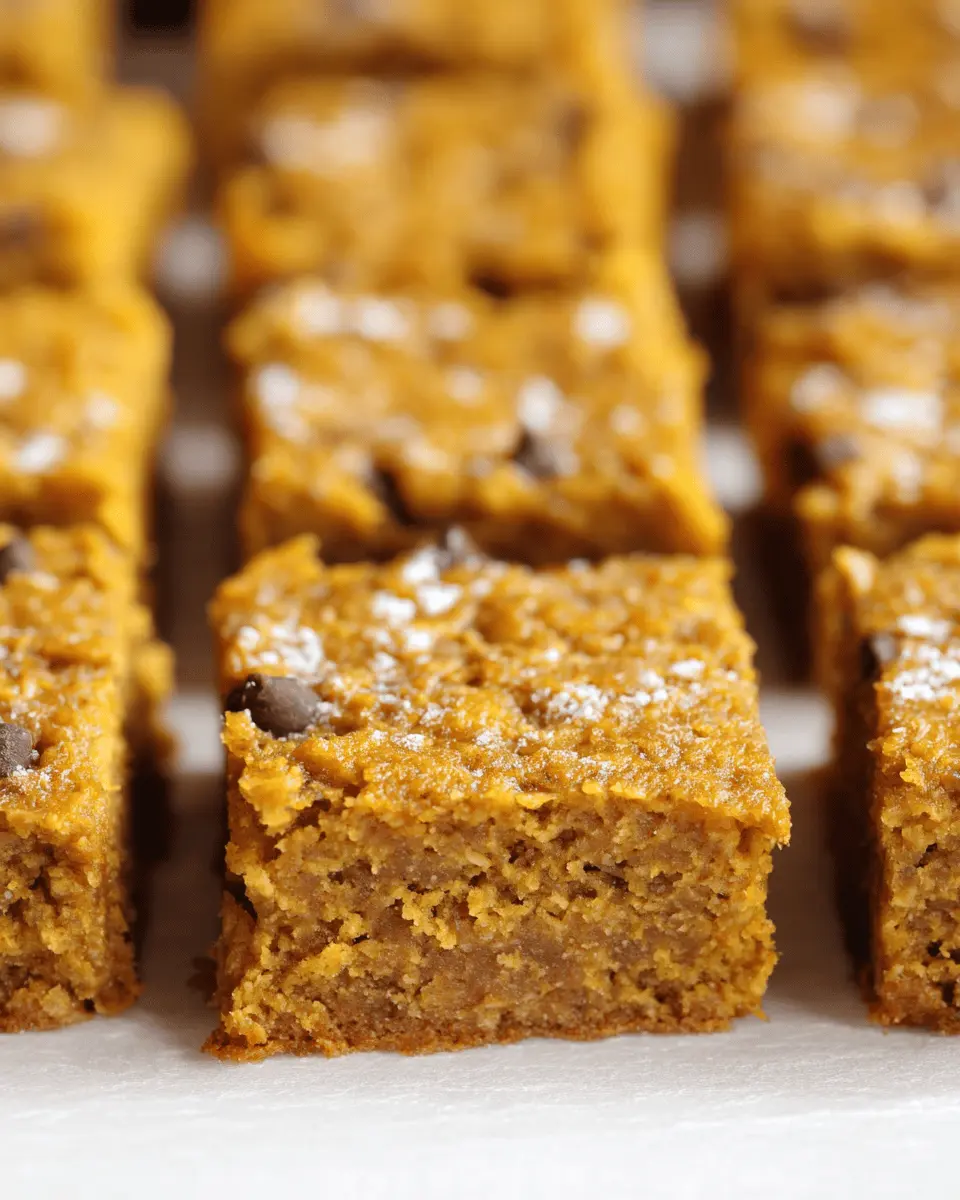
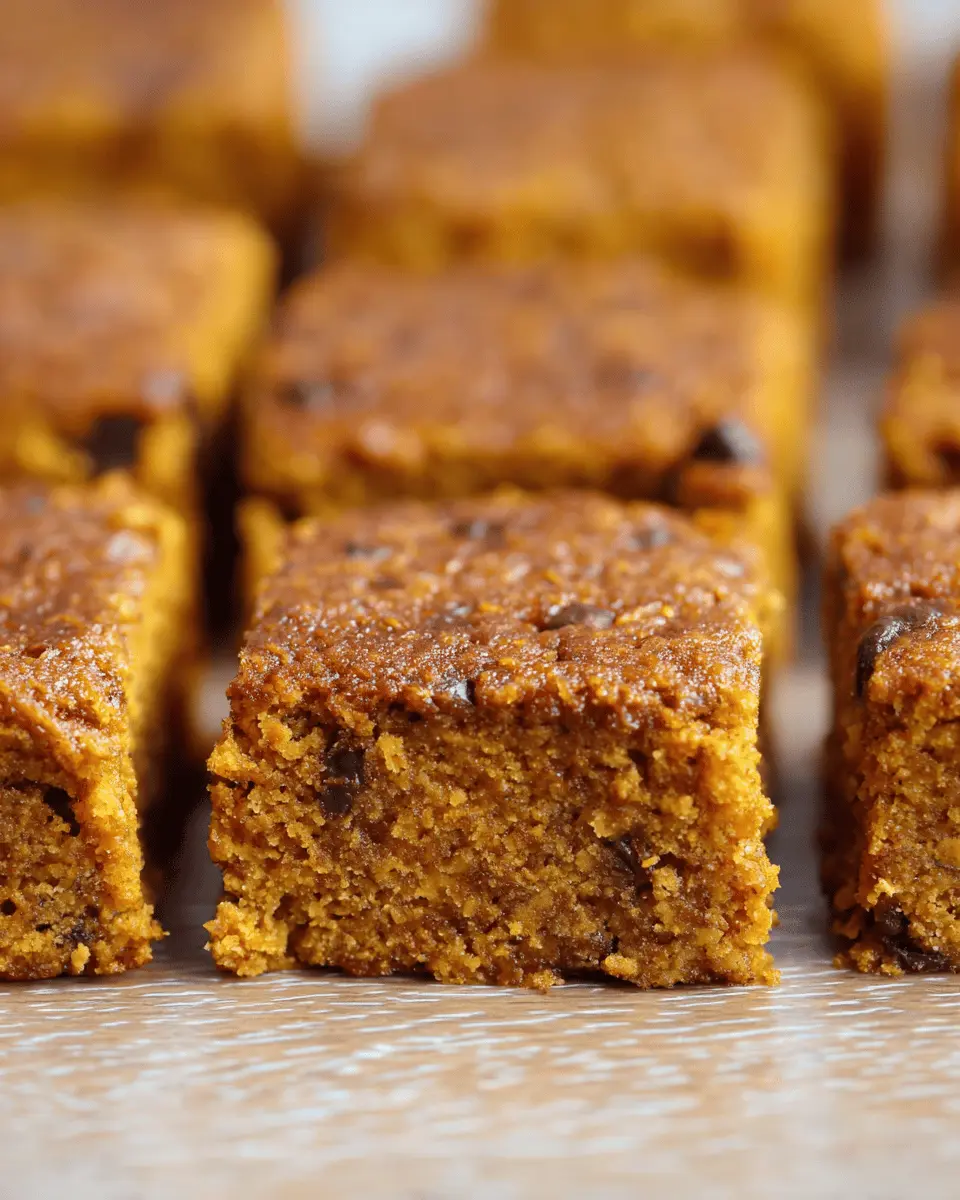
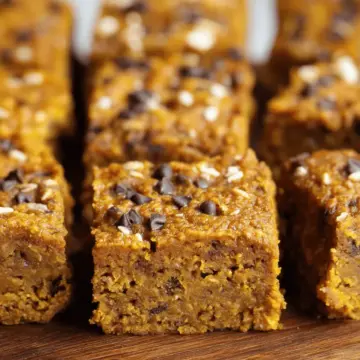
Introduction to Healthy Pumpkin Bars
When life gets busy, it can be tough to find time for healthy snacks that keep you energized throughout the day. That’s where healthy pumpkin bars can save the day! These delicious treats not only satisfy your sweet tooth but also pack a nutritional punch. Made from wholesome ingredients like rolled oats, pumpkin puree, and maple syrup, these bars offer a balance of healthy carbohydrates, fiber, and vitamins.
Why Healthy Pumpkin Bars are Perfect for Busy Professionals
For young professionals juggling work, fitness, and social commitments, having quick and nutritious snack options is crucial. With just a few minutes of prep and a short bake time, this healthy pumpkin bars recipe allows you to whip up a batch that lasts for days. Whether you need a mid-morning pick-me-up or a post-gym treat, these bars are easy to grab on the go.
In addition to their convenience, pumpkin is rich in vitamin A, which is vital for maintaining your immune system and skin health. Plus, the combination of oats and flaxseed provides much-needed fiber, promoting digestive health. Bake a batch this weekend, and you’ll have a delightful, guilt-free snack ready when you need it! Don’t forget to check out our full healthy pumpkin bars recipe to get started.
Ingredients for Healthy Pumpkin Bars
When crafting your healthy pumpkin bars recipe, the choice of ingredients is crucial. Let’s dive into what you'll need to create these delicious treats!
-
Oats: Start with 1 cup of rolled oats for a fiber-rich base that adds texture and heartiness to your bars. If you’re looking for a gluten-free option, choose certified gluten-free oats.
-
Flour: Incorporate ½ cup of whole wheat flour for added nutrients. If needed, you can substitute it with a gluten-free flour blend for those sensitive to gluten.
-
Spices: Spice things up with 1 teaspoon of cinnamon and ½ teaspoon of pumpkin pie spice to give your bars that warm, cozy flavor we all love in the fall.
-
Sweeteners: A touch of ¼ cup maple syrup provides natural sweetness, balancing the pumpkin flavor beautifully, while keeping the bars healthy.
-
Additional Ingredients: Don't forget 1 cup of pumpkin puree and ¼ cup of melted coconut oil—they're key to achieving that moist, rich texture. Also, choose ⅓ cup of your favorite mix-ins like chocolate chips or dried cranberries for an extra pop of flavor.
These thoughtfully selected ingredients will not only nourish your body but also create mouthwatering pumpkin bars that you'll love sharing with friends and family!
Preparing Healthy Pumpkin Bars
Making healthy pumpkin bars is not only a delightful way to embrace the flavors of fall, but it's also an enjoyable process that anyone can master! Let's guide you through the steps to create these nutritious treats that your friends and family will love.
Gather Your Ingredients
First things first, it’s important to get all your ingredients together before you start. This makes the baking process smooth and stress-free!
- 1 cup rolled oats
- ½ cup whole wheat flour (or a gluten-free blend if needed)
- 1 tablespoon ground flaxseed
- 1 teaspoon cinnamon
- ½ teaspoon pumpkin pie spice
- 1 teaspoon baking powder
- ¼ teaspoon baking soda
- 2 large eggs
- 1 cup pumpkin puree (don’t forget to check the label for pure pumpkin)
- ¼ cup maple syrup
- 3 tablespoons melted coconut oil
- 1 teaspoon vanilla extract
- ⅓ cup chocolate chips (substitutes include raisins, cranberries, or walnuts)
Having everything ready will save you time and keep your kitchen organized!
Mix the Dry Ingredients Together
In a medium mixing bowl, combine all your dry ingredients: rolled oats, whole wheat flour, ground flaxseed, cinnamon, pumpkin pie spice, baking powder, and baking soda. Use a whisk to ensure everything is well blended, allowing the spices to become uniformly distributed throughout the mix.
Prepare the Wet Ingredients
Now, in another large bowl, it's time to mix your wet ingredients. Whisk together the eggs, pumpkin puree, maple syrup, melted coconut oil, and vanilla extract until the mixture is smooth and well combined. The combination of pumpkin and maple syrup brings a natural sweetness that pairs beautifully!
Combine Wet and Dry Mixtures
Carefully pour the wet mixture into the dry mixture, folding them together gently using a spatula. It’s key to combine them just until incorporated; you want to avoid overmixing. This will help your healthy pumpkin bars remain tender and delicious.
Pour Batter into the Baking Pan
Once combined, transfer the batter to a greased 8x8-inch baking pan. Use your spatula to smooth out the top evenly, so your bars bake uniformly.
Bake Your Delicious Pumpkin Bars
Preheat your oven to 350°F (175°C) before sliding the pan in. Bake your healthy pumpkin bars for about 20-24 minutes, or until they’re lightly golden around the edges and a toothpick inserted comes out clean.
Once they’re done, let them cool in the pan on a wire rack before slicing. Trust me, the aroma will have your house smelling wonderful, and you’ll find it hard to resist a bite!
By following these straightforward steps, you'll whip up some delightful pumpkin bars that are not only healthy but incredibly satisfying. Perfect for a snack or dessert, they can easily become a beloved staple in your home. Enjoy the baking experience!
Variations on Healthy Pumpkin Bars
Gluten-Free Pumpkin Bars
Looking to enjoy these delicious pumpkin bars without gluten? No problem! Simply swap the whole wheat flour for a good-quality gluten-free flour blend and ensure your oats are certified gluten-free. The taste and texture will still be deliciously satisfying, making your fall favorites accessible to everyone. If you're curious, check out this guide on choosing the best gluten-free baking ingredients here.
Vegan Pumpkin Bars
Craving a plant-based version? For these healthy pumpkin bars, you can easily make them vegan by replacing the eggs with ground flaxseed. Just combine one tablespoon of flaxseed meal with about a quarter cup of non-dairy milk—your bars will remain just as fluffy and flavorful! Want more vegan alternatives? Explore this great article on vegan baking tips here.
These variations not only accommodate different dietary needs but also let you enjoy these scrumptious treats, no matter your preference!
Cooking Tips for Healthy Pumpkin Bars
Creating healthy pumpkin bars that are both delicious and nutritious is easier than you think! Here are some tips to elevate your baking experience:
-
Use Fresh Pumpkin: While canned pumpkin puree is convenient, fresh pumpkin can enhance flavor and nutrition. Just roast and blend it for a delightful twist.
-
Experiment with Sweeteners: Although the recipe calls for maple syrup, feel free to try other options like honey or agave nectar for different flavor profiles.
-
Swap Oils: For a lighter version, unsweetened applesauce can replace coconut oil. It keeps the moisture while cutting down on fats.
-
Add Nuts or Seeds: Tossing in walnuts or chia seeds not only gives a delightful crunch but also boosts the protein and omega-3 content.
-
Taste Test: Before baking, taste the batter to ensure the balance of spices is just right. You may want a pinch more cinnamon for warmth!
Following these tips will ensure your healthy pumpkin bars recipe shines with flavor and nutrition. Happy baking!
Serving Suggestions for Healthy Pumpkin Bars
Enjoying your healthy pumpkin bars can be both fun and versatile! Here are some delicious serving suggestions to elevate your experience:
- Nutty Toppings: Spread a layer of almond or cashew butter on top for a protein boost and creamy texture.
- Cream Cheese Delight: A dollop of cream cheese can add a rich flavor, making it feel like dessert.
- Sweet and Spicy Apple Butter: This makes a flavorful pairing that enhances the pumpkin essence beautifully.
- Fruit Garnishes: Top with fresh slices of apples or pears for a refreshing crunch.
- Serving Temperature: Enjoy them warm, at room temperature, or even chilled.
Get creative and personalize your healthy pumpkin bars recipe to suit your taste—a little experimentation can lead to delightful new favorites!
Time Breakdown for Healthy Pumpkin Bars
Preparation Time
Getting these healthy pumpkin bars ready is a breeze! You’ll need about 10 minutes to gather your ingredients and mix them up. It’s the perfect task for a laid-back Sunday afternoon.
Baking Time
Once your batter is all set, pop it into the oven for 20-24 minutes at 350° F. This is the time to relax a bit while your kitchen fills with that delightful pumpkin aroma!
Total Time
In total, you'll spend around 30-35 minutes to whip up these delicious bars. Not too shabby, right? Perfect for satisfying your pumpkin cravings without taking up your entire day!
By following this simple time breakdown, you can enjoy a nutritious treat in no time. Happy baking!
Nutritional Facts for Healthy Pumpkin Bars
When it comes to satisfying your sweet tooth while keeping things nutritious, our healthy pumpkin bars recipe hits the mark. Here's a quick breakdown of the nutritional highlights:
Calories
Each bar contains only 97 calories, making it a guilt-free treat that fits into any balanced diet.
Protein
With 2 grams of protein per serving, these bars can help to keep you feeling full and satisfied. Pairing them with a source of protein, like Greek yogurt, can enhance your snack.
Fiber
Featuring 2 grams of fiber, these pumpkin bars are a delicious way to support digestion. Incorporating fiber-rich foods into your diet can promote overall health, so enjoy this tasty treat guilt-free!
Enjoy your healthy pumpkin bars as a delightful snack or dessert option that nourishes your body and satisfies your cravings! For more health tips, check out Healthline for insights into nutritional benefits and healthy snacking.
FAQs about Healthy Pumpkin Bars
Can I substitute ingredients in the pumpkin bars recipe?
Absolutely! One of the beauties of this healthy pumpkin bars recipe is its flexibility. If you don't have whole wheat flour, feel free to use a gluten-free blend or almond flour. You may even swap the maple syrup for honey or agave syrup. And if you’re aiming for a vegan option, simply replace the eggs with flaxseed meal mixed with water, as mentioned in the notes.
How should I store my pumpkin bars?
To keep your healthy pumpkin bars fresh, store them in an airtight container. They can last up to 3 days at room temperature or up to 5 days in the fridge. For longer storage, freeze them! Just pop them in a freezer-safe container, and they can last for up to 3 months.
How long do healthy pumpkin bars last?
If properly stored, you can enjoy your healthy pumpkin bars for several days. As noted, they'll be delightful for about 3 days at room temperature, or you can extend that to up to 5 days in the fridge. If you're a pumpkin fanatic, stocking up in the freezer is a perfect way to have them on hand whenever the craving strikes!
Conclusion on Healthy Pumpkin Bars
If you’re looking for a nutritious snack that delights the taste buds, this healthy pumpkin bars recipe is your answer. Moist, flavorful, and easy to make, these bars are perfect for any occasion. Bake a batch today, and enjoy the wholesome goodness they bring!
Healthy Pumpkin Bars Recipe
Equipment
- 8×8-inch Baking Pan
- mixing bowl
Ingredients
- 1 cup rolled oats
- ½ cup whole wheat flour (or gluten free flour blend)
- 1 tablespoon ground flaxseed
- 1 teaspoon cinnamon
- ½ teaspoon pumpkin pie spice
- 1 teaspoon baking powder
- ¼ teaspoon baking soda
- 2 large eggs
- 1 cup pumpkin puree
- ¼ cup maple syrup
- 3 tablespoons melted coconut oil (slightly cooled)
- 1 teaspoon vanilla extract
- ⅓ cup chocolate chips (or raisins, dried cranberries, or chopped walnuts)
Instructions
- Preheat the oven to 350 degrees F and coat an 8×8 pan with nonstick spray.
- Add all ingredients to a medium bowl and stir together to combine thoroughly, but gently.
- Place batter into prepared pan and smooth with a spatula so the batter is evenly distributed.
- Bake for 20-24 minutes or until lightly golden brown around the edges and a cake tester inserted into the middle comes out cleanly.
- Remove from oven, place pan on a wire rack and allow to cool completely before slicing.
- Serve warm, at room temp, or chilled.
Leave a Reply