
Introduction to Indulging in Homemade Frozen Chocolate
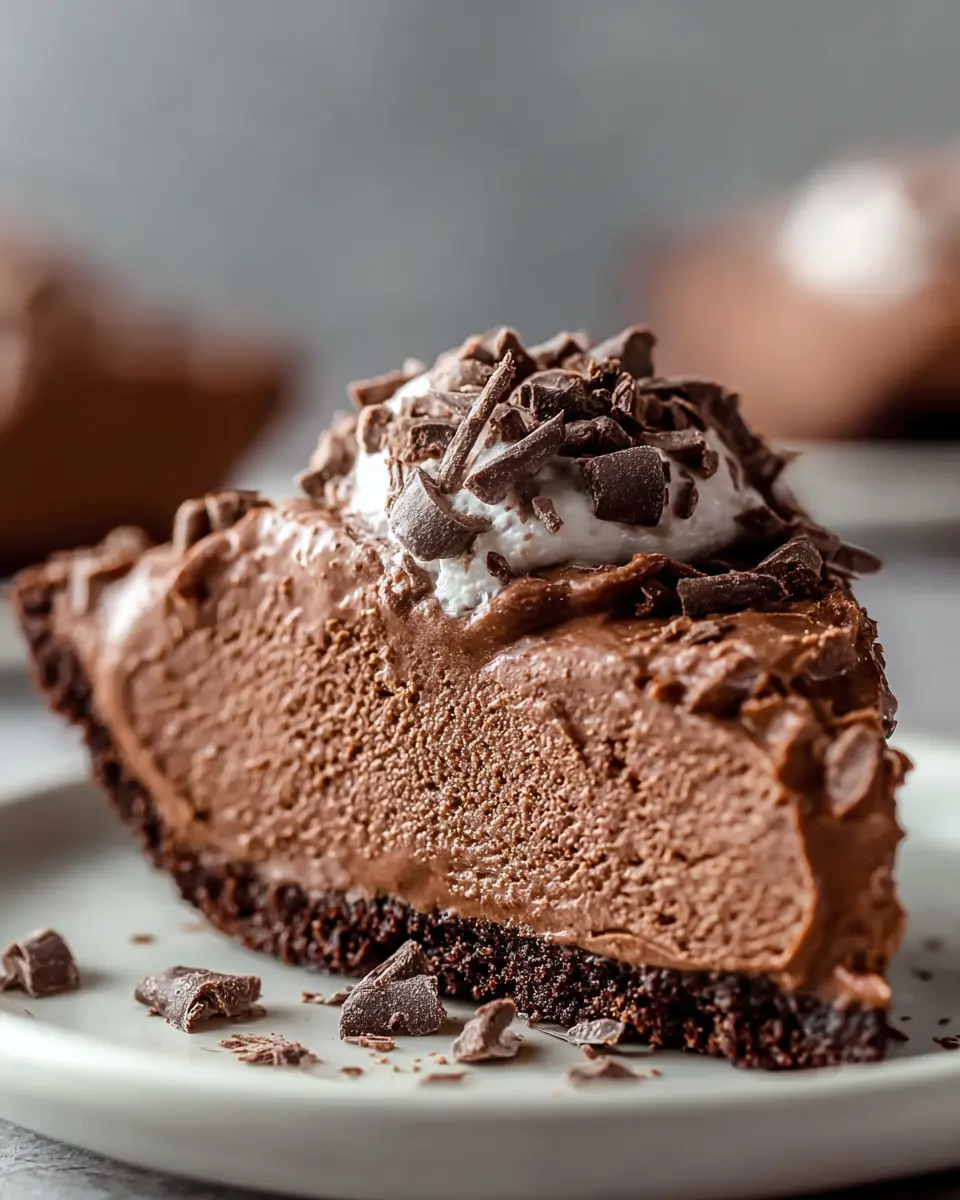
When was the last time you treated yourself to something truly decadent? In our fast-paced lives, indulging in homemade treats isn’t just a luxury; it’s a way to reconnect with the simple joys of life. Picture this: a warm evening, a cozy blanket, and a slice of rich, creamy frozen chocolate pie made right in your own kitchen. Sounds inviting, doesn’t it?
One of the reasons to embrace homemade desserts is the control it gives you over ingredients. By making your own treats, you can tailor them to your taste preferences and dietary needs. Plus, the process can be a wonderful way to unwind after a hectic day. Want to learn more about the benefits of homemade sweets? Check out this insightful article from Healthline.
Creating your own frozen chocolate masterpiece not only satisfies your sweet tooth but also provides a chance to bond with friends and family. Invite them over for a fun baking session or simply share your new favorite dessert with them. With our easy-to-follow recipe, you’ll be well on your way to becoming a homemade dessert pro. Get ready to indulge in homemade frozen chocolate that will impress everyone who tries it!

Ingredients for Homemade Frozen Chocolate
Essential Ingredients for the Crust and Filling
To create a scrumptious base and filling for your homemade treat, start with these key ingredients:
- 1 pre-made chocolate pie crust: This buttery crust is the foundation of your dessert and saves you time in the kitchen!
- 1 cup semi-sweet chocolate chips: The star of the show! This ingredient delivers that rich chocolate flavor we all crave.
- 1 teaspoon instant coffee granules: A little secret to elevate the chocolate taste beautifully.
- 1 teaspoon hot water: Just enough to help dissolve those coffee granules seamlessly.
- ¾ cup sour cream: It adds a delightful creaminess with a touch of tang.
- ½ cup sugar: A must for sweetening your luscious filling.
- 1 teaspoon vanilla extract: This adds warmth and enhances the chocolate.
Topping Ingredients
To finish off your indulgent frozen chocolate, you’ll need:
- 1½ cups heavy whipping cream: This rich topping is what dreams are made of!
- 1 cup powdered sugar: Sweetens and stabilizes your whipped topping perfectly.
- ¼ cup cocoa powder: For that extra layer of chocolate goodness.
- 2 tablespoons mini chocolate chips: The cute finishing touch that adds a delightful crunch.
Taking a moment to gather these ingredients will set you on the path to indulge in homemade frozen chocolate bliss. Discovering the right balance of flavors will make your dessert memorable!
For more cooking tips, you might want to check out The Kitchn for some great baking insights.
Step-by-step Preparation of Homemade Frozen Chocolate
Indulging in homemade frozen chocolate is a delightful adventure that elevates any dessert experience. Let's roll through the process step by step so you can savor every moment of creating this luscious treat.
Melt the chocolate chips
Begin by melting your semi-sweet chocolate chips. In a small saucepan over low to medium heat, add your chocolate chips. Stir continuously until the chocolate is completely smooth and creamy. This slow melting helps preserve the rich flavor. Once melted, remove the saucepan from heat and let it cool for about 10 minutes. Setting this aside allows it to reach the perfect temperature for mixing with the other ingredients later.
Prepare the coffee mixture
While your chocolate cools, it's time to prepare the coffee mixture that will enhance the chocolate flavor. In a medium bowl, combine 1 teaspoon of instant coffee granules with 1 teaspoon of hot water. Let this sit for about 2 minutes to ensure the granules dissolve completely. Coffee and chocolate are a match made in heaven; they elevate each other's flavors beautifully!
Mix the filling ingredients
In the same bowl, add ¾ cup sour cream, ½ cup sugar, and 1 teaspoon vanilla extract. Mix everything until well combined. The sour cream contributes a tangy creaminess that perfectly balances the sweetness, while the vanilla extract warms up the chocolate. Finally, fold in that cooled melted chocolate until your mixture is smooth and creamy.
Fill the crust and refrigerate
Now it’s time to spread this delectable filling into your pre-made chocolate pie crust. Use a spatula to smooth it evenly, ensuring every bite will be as heavenly as the last. Once filled, refrigerate the pie for at least two hours, allowing the filling to set up nicely. This is the patience test, but it’s worth the wait!
Prepare the whipped cream topping
While your pie is chilling, let’s whip up a fluffy topping! In another medium bowl, mix together 1½ cups heavy whipping cream, 1 cup powdered sugar, and ¼ cup cocoa powder. Using a handheld electric mixer, beat the mixture until stiff peaks form. This step is crucial for that light and airy texture that beautifully contrasts with the rich chocolate filling.
Freeze the pie to perfection
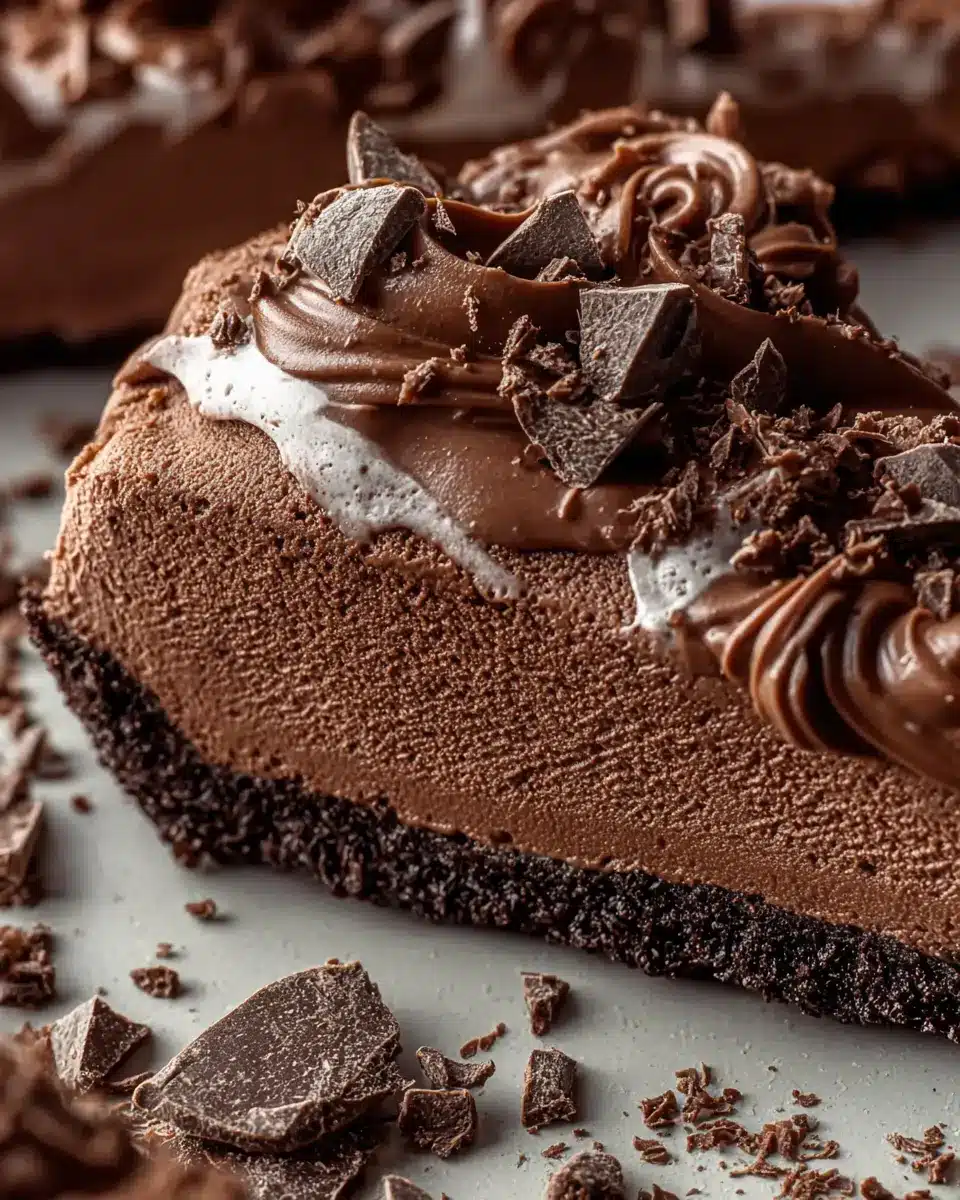
Once your pie filling is set and your whipped cream is ready, spread the whipped cream mixture evenly over the filling. Don’t forget to sprinkle it with 2 tablespoons of mini chocolate chips for that extra layer of scrumptious goodness. Now, it’s time to freeze your pie! Place it in the freezer for a minimum of 6 hours (or overnight for best results).
When you're ready to serve, indulge in your homemade frozen chocolate pie—it’s sure to impress your friends and family, and even more, it will satisfy your sweet tooth in the most luxurious way! So grab a slice, and relish the moment; you’ve earned it.
Variations on Homemade Frozen Chocolate
Exploring different variations when you indulge in homemade frozen chocolate can elevate this treat from simple to spectacular!
Adding a Hint of Peppermint
For a festive twist, try adding a few drops of peppermint extract to your chocolate filling. This refreshing flavor pairs beautifully with the rich chocolate base, making it perfect for holiday gatherings or just a cozy night in. You can also sprinkle crushed peppermint candies on top for that extra crunch and a pop of color!
Incorporating Your Favorite Nuts
Nuts add a delightful crunch and flavor contrast to your frozen chocolate creation. Consider mixing in chopped almonds, hazelnuts, or walnuts into the filling. Alternatively, you can sprinkle them on top of the whipped cream layer before freezing. The combination of creamy chocolate and nutty goodness is simply irresistible!
Experimenting with these variations will keep your dessert experiences exciting and delicious. For more ideas, check out Joy of Baking’s tips on chocolate pairings!
Cooking Tips and Notes for Homemade Frozen Chocolate
Avoiding Common Pitfalls
When you indulge in homemade frozen chocolate, remember that chocolate can easily seize if overheated. Keep your heat low and stir often while melting. Also, letting your filling mixture cool before adding the cream can help maintain its fluffiness. Overbeating the cream can turn it grainy, so watch those peaks carefully!
Storage Tips for Freshness
To maintain the freshness of your dessert, cover it tightly with plastic wrap or use an airtight container. Homemade frozen chocolate can last in the freezer for up to a month, but it's best enjoyed within two weeks for the best flavor. For serving, consider thawing it in the fridge for about an hour for easier slicing.
For more chocolate tips, check out Serious Eats for expert advice on chocolate techniques!
Serving Suggestions for Homemade Frozen Chocolate
Pairing with Fresh Berries
To elevate your homemade frozen chocolate, consider serving it with an array of fresh berries. Strawberries, raspberries, and blueberries add a burst of color and acidity that perfectly complements the richness of the chocolate. Not only does this contrast enhance the overall flavor, but berries are also packed with antioxidants, making your dessert a bit healthier. For an extra touch, drizzle a bit of honey or a dollop of whipped cream on top for added sweetness.
Presentation Tips for a Stunning Dessert
To create a visually appealing dessert that impresses, slice your frozen chocolate pie into perfect wedges and place them on elegant dessert plates. Dust a light layer of cocoa powder or powdered sugar over the top for a chic finish. Garnish with fresh mint leaves or a sprig of edible flowers for a pop of color. A well-arranged dessert not only tastes great but also tantalizes the eyes, making each bite feel special.
By personalizing your dessert with fresh elements and thoughtful presentation, you’re sure to create an indulgent experience that friends and family will rave about!
Time Breakdown for Homemade Frozen Chocolate
Preparation time
Get started with just 20 minutes of prep. This is where the magic begins as you melt chocolate and mix in your delicious filling ingredients.
Freezing time
Patience is key! Let your creation freeze for a minimum of 6 hours, ensuring it’s perfectly set before serving.
Total time
From prep to plate, you’ll be looking at about 6 hours and 20 minutes. This includes all the delightful processes that make indulging in homemade frozen chocolate a truly rewarding experience!
Nutritional Facts for Homemade Frozen Chocolate
When you indulge in homemade frozen chocolate, it’s good to know what you’re treating yourself to. Each slice contains approximately:
- Calories: 350 kcal, making it a satisfying dessert option.
- Sugar Content: 28g, adding that sweet touch we all love.
- Protein and Fat Details: Contains 4g of protein and 20g of total fat, with 12g saturated fat for a rich texture.
For more on how desserts can fit into a balanced diet, check out Harvard Health.
Make sure to enjoy this treat guilt-free, knowing the nutritional facts behind each delicious bite!
FAQs about Homemade Frozen Chocolate
Can I use different types of chocolate?
Absolutely! While semi-sweet chocolate chips offer a lovely richness, you can experiment with other types like dark chocolate for a more intense flavor or milk chocolate for a sweeter bite. Feel free to mix and match—just keep in mind that different chocolates may alter the texture and taste slightly.
How can I make this dessert healthier?
Want to indulge in homemade frozen chocolate without the guilt? Consider substituting the sour cream for Greek yogurt, which adds protein and reduces calories. You can also use stevia or honey instead of sugar for a lower glycemic index sweetener. Additionally, adding a layer of fruits like bananas or strawberries can boost nutrients!
What’s the best way to defrost the chocolate pie?
For the perfect serving, transfer your frozen chocolate pie from the freezer to the fridge for about 2 hours before enjoying. This allows it to thaw evenly while maintaining its delightful texture. If you're in a hurry, a quick 15 minutes at room temperature will also work but be cautious—too long can make it too soft.
For more delicious ideas, check out this healthy dessert blog for alternatives and inspiration!
Conclusion on Homemade Frozen Chocolate
Creating a decadent dessert like homemade frozen chocolate is not just about satisfying your sweet tooth; it's about celebrating the joy of homemade desserts. Each bite reflects your effort and creativity, making it perfect for sharing. So go ahead, indulge in homemade frozen chocolate, and elevate your dessert game!

Indulge in Homemade Frozen Chocolate
Equipment
- small saucepan
- medium bowl
- handheld electric mixer
Ingredients
Crust
- 1 piece pre-made chocolate pie crust A buttery crust that provides the perfect foundation.
Filling
- 1 cup semi-sweet chocolate chips Essential for rich chocolate flavor.
- 1 teaspoon instant coffee granules Enhances chocolate taste beautifully.
- 1 teaspoon hot water Helps dissolve the coffee granules.
- ¾ cup sour cream Adds tangy creaminess.
- ½ cup sugar Sweetens the filling.
- 1 teaspoon vanilla extract Brings out warmth in chocolate.
Topping
- 1½ cups heavy whipping cream Provides a luscious topping.
- 1 cup powdered sugar Sweetens and stabilizes whipped cream.
- ¼ cup cocoa powder Adds an extra layer of chocolate flavor.
- 2 tablespoons mini chocolate chips Cute and delicious finishing touch.
Instructions
Preparation
- In a small saucepan over low-medium heat, melt the semi-sweet chocolate chips, stirring until smooth and creamy. Remove from heat and let cool for about 10 minutes.
- In a medium bowl, combine the hot water and instant coffee granules, allowing the mixture to sit for about 2 minutes.
- Add sour cream, sugar, and vanilla extract to the coffee mixture, stirring until well combined. Mix in the cooled melted chocolate until smooth.
- Spread the filling mixture into the pre-made chocolate pie crust and refrigerate to set.
- In another medium bowl, combine heavy whipping cream, powdered sugar, and cocoa powder. Beat with a handheld electric mixer until stiff peaks form.
- Spread the whipped cream mixture over the chocolate filling, smoothing it out evenly.
- Sprinkle the top with mini chocolate chips and freeze the pie for a minimum of 6 hours. Slice and serve.
Leave a Reply